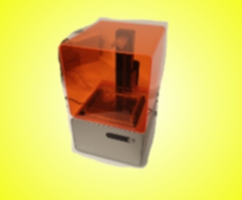
SLA Printer
Initial methodology and results
First 3D Print | posted on Th, 12 Nov. 2015
Why did I choose a SLA printer?
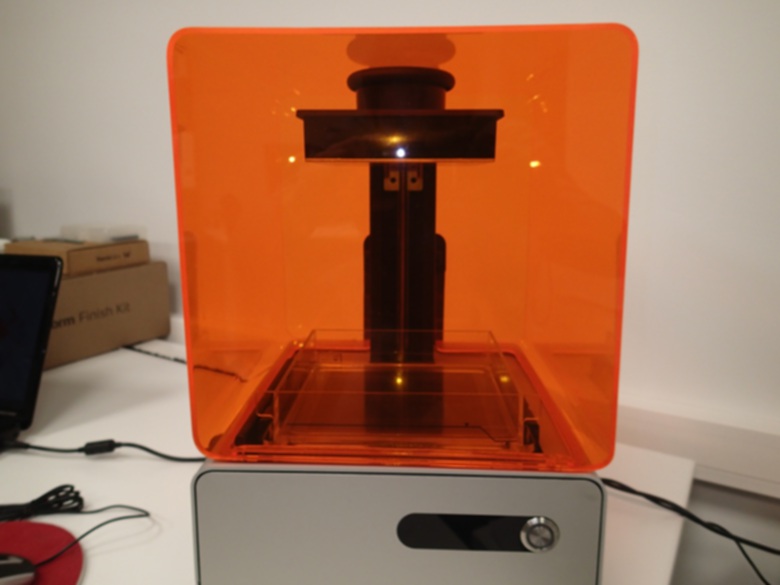
First of all, I don´t want with my personal opinion to create any wrong idea about other 3D printers, therefore what I state here is just my humble knowledge about the technology and what I have access to. Well then, I have chosen a SLA printer over the traditional extruding ones mainly because I want to achieve good small details in prints such as figurines, cars, trains and more. The minimum detail, the Form 1+, is able to achieve is around 300 microns which actually is not that good if you compare with a DLP-SLA printer (around 37 to 100 microns) but is a lot better of what you can get with a FDM printer. The advantage of this Laser-SLA printer over the DLP-SLA printer is generally the faster building speed and bigger building volume. Well, that´s not black and white like this, because you can reduce the resolution of a DLP-SLA printer to achieve bigger building volumes but you´ll lose the fine detail capacity, so it´s a trade that it´s dependent on the requirements of each individual. However I´m not a big fan of using a projector to cure resin, it looks kinda strange….but is just me, probably that´s perfectly ok, as we can confirm in the B9C forum (a DLP-SLA printer). Concluding, I went for the Form 1+ because it´s a Laser-SLA printer (like proper industrial SLA printers), the cost is quite reasonable, costumer support is great and resolution you can get it´s decent (however precision and accuracy it´s another different story).
My story with this printer didn´t started very well because UPS damaged the printer during transport and they didn´t want to admit they had made one awful service (so poor that I will not use them anymore and I recommend anyone to check posts against UPS on the web to see how they scam their clients with insured packages). After a long story with a lot of headaches I finally got my printer and I assembled it in my office.
Good to know...
The printer is supplied with a finishing kit that has a tray, tweezers, some Tupperware’s, spatula and other smaller items. To print with these kind of printers is somewhat messy, just imagine that instead of a roll with plastic wire you´re actually using a resin that is in its liquid form…..yeah….very messy, now you can see why does it have that finishing kit. Adding to this party we need isopropanol to clean the parts and help them cure entirely when you remove it from the printer, so one more thing to help increase the probability of getting even gummier…..damn what was I thinking when I bought this thing.

Steps to start printing
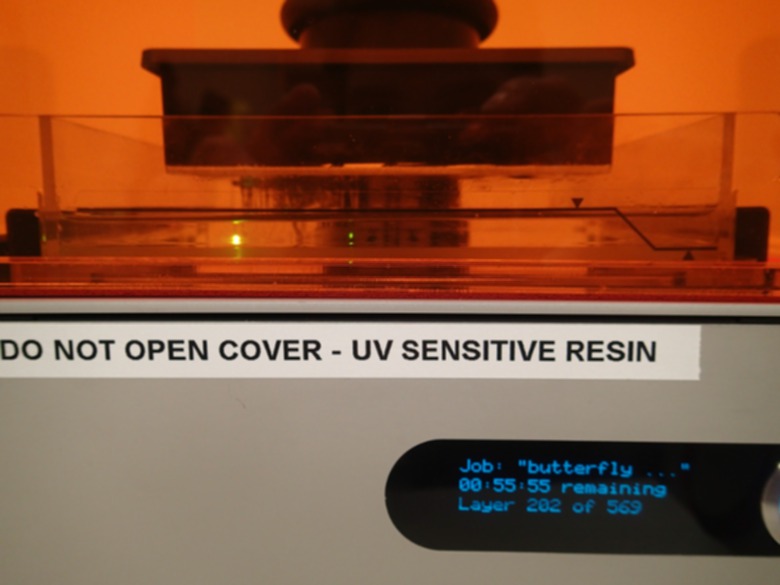
In contrast with FDM printers, this printer is really a plug and play ecosystem. First I installed the printer software (normally called slicer), installed the print platform and filled the tank with resin to the top level, pressed print and voila!!! This is the result of the example butterfly from the Preform software.

Some thoughts after the first experience
I spent time reading a lot on Formlabs forum and I got scared when I discovered the amount of issues and complaints users have, so I was sceptic in the beginning but now I´m convinced, this was a good choice for what I need.
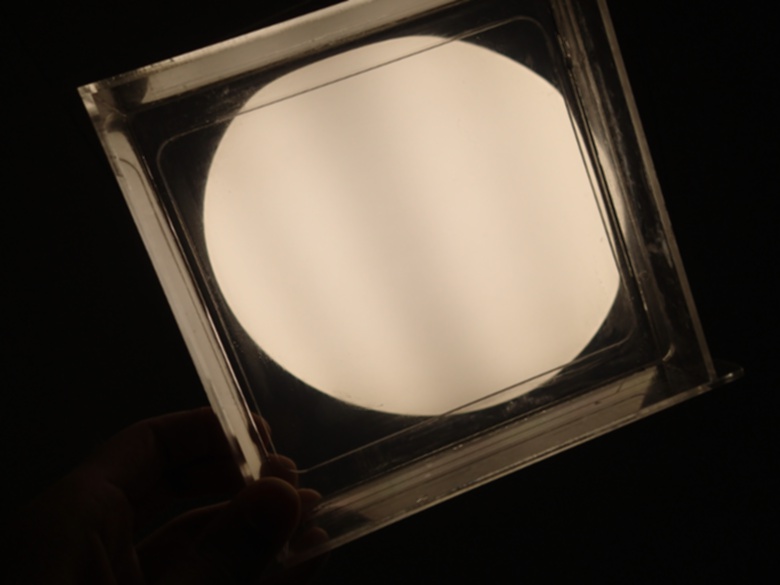
Is worth to mention that you need to have a proper methodology to achieve good results. This includes correct design, because not everything is perfect for printing, correct orientation and supports implementation, a spotless tank and mirrors (these mirrors is what reflects the laser into the resin) and proper resin quality.
- Design the part with the printer restrictions in mind. See here additional information.
- Orient your part properly and take your time to manually insert supports. You´ll be a lot more successful if you do it manually.
- Clean the metal plate on the build platform with isopropanol, but be sure it´s completely dry before touching the resin.
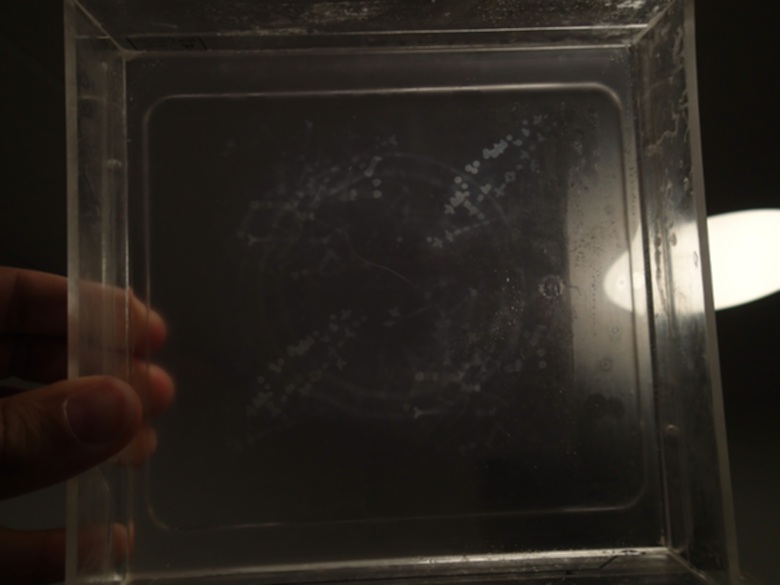
- Inspect the resin tank for cured resin with the spatula and remove debris if you find any. If the resin is not clean try to strain it with paint paper filters 190microns.
- The tank wears out the protective layer that allows the printed part to be separated from the tank, peel process. Make sure this layer is clean and not clouded.
- Other important points: always shake the resin before pour it into the tank, use the spatula to help the PDMS layer breath before starting any print.
First 3D Print
TAGS
SLA, 3D printing, 3D Printer, Form 1+, Formlabs